"When we were first approached by Revlon about a potential collaboration, Keren (Craig) and I were really excited about the chance to partner with an iconic brand that believes, as we do, in making a woman feel beautiful while remaining true to herself. Through Revlon’s incredible global reach, we will be able to bring a little piece of Marchesa to women around the world."
~Georgina Chapman, Marchesa co-founder and designer
I don't own anything designer, and I'm OK with that. Although I can appreciate the luxury and quality of high-end fashion, I can't see the practicality in ever paying an excessive amount for designer pieces.
I do know about designer items though, and I'm familiar with Marchesa and Georgina Chapman because Georgina is a judge on "Project Runway: All Stars" and "Project Runway: Under the Gunn."
Georgina wears Marchesa during judging, and I love the brand's mix of feminine silhouettes with beautiful embroidery and lace details.
So, I was pretty pumped to randomly find these Revlon nail art appliques on a recent trip to my local CVS. For $9.99, I could own a little piece of Marchesa and show it off every day. Or at least every day for about 2-3 weeks.
The appliques, which hit stores back in October, come in eight different styles inspired by the fashion house's gowns, and I picked two: Silk Rosette (below) and 24K Brocade.
Here's how I applied the Revlon By Marchesa 3D Jewel Appliques in Silk Rosette on my nails.
The box came with two of these sheets inside with various applique sizes for all 10 nails.
Also included in the box were a cuticle stick and file to shape the appliques to each nail.
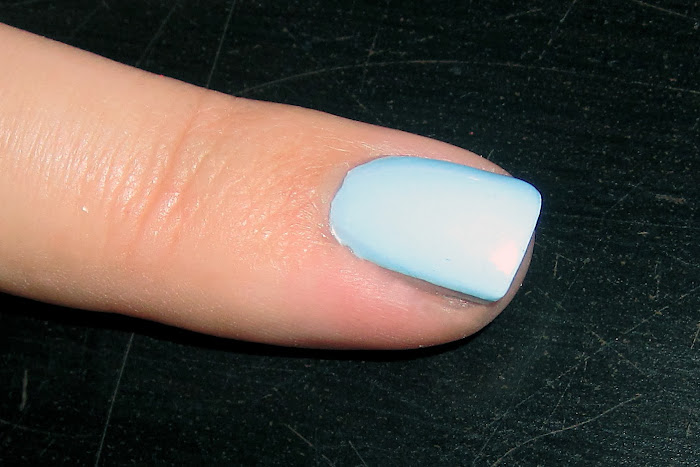
Because the base of the Silk Rosette appliques was clear, I chose to paint my nails a pastel blue before applying them. I used Color Club's Factory Girl.
Then, I picked an applique that would fit my nail without touching my skin or cuticle and stuck it on.
Next, I pulled the applique tight over the end of my nail until it ripped.
And finally, I used the cuticle stick to smooth out the applique over my nail and the file to remove the excess part from the end of my nail. Although the directions on the back of the box didn't call for a top coat, I added one anyway.
I love the way my nails turned out, and I'm looking forward to trying the 24K Brocade appliques later this spring. I'll show you how those look, too!


I need to try these!!! So pretty!
ReplyDeleteDo it! Appliques are an easy way to try nail art design!
Delete