Showing posts with label Nail Art. Show all posts

Wednesday, April 9, 2014

Marchesa Nails in 24K Brocade


I wrote a few weeks ago about the Revlon By Marchesa 3D Jewel Appliques that I had used to turn my nails into mini designer masterpieces.

I had chosen the Silk Rosette design, and I liked the way they turned out. Now, I'm trying out the 24K Brocade design.

I love the combination of mint and gold, and I think the shiny gold scrolls in these stickers look really eye catching.

I applied them following the same steps as the previous Marchesa appliques minus a base nail color because these stickers are opaque. Check out the tutorial here: Marchesa Nails: The Only Thing Designer About My Wardrobe.

Which design do you prefer? Tell me in the comments!

Tuesday, March 25, 2014

Daisy Nails Tutorial


When spring began last week on the day I started my new job (woot!), I made sure my nails were ready for both occasions with this cute daisy nail art design that I made up myself.

Want to replicate it? Here's how!


I started out by peeling the Revlon By Marchesa 3D Jewel Appliques in Silk Rosette off my nails. The Color Club Factory Girl nail color underneath was still intact, so I didn't change the polish.


Then, I used a white Sally Hansen Nail Art Pen to draw the flower petals. I gave each full flower about five petals, and I also painted partial flowers at the edges.


Next, I used a dotting tool dipped into yellow polish to create a dot at the center of each flower. If you don't have a dotting tool, you could use a toothpick instead. I originally thought I would stop after this step, but the flowers looked kind of like fried eggs, so I decided to add some leaves.


I used a smaller dotting tool dipped in a green polish and randomly added leaves to the flowers where I thought they looked best.


Finally, I added a topcoat, and voila! Daisy nails complete!

How are you painting your nails for spring? Tell me in the comments!

Wednesday, March 12, 2014

Marchesa Nails: The Only Thing Designer About My Wardrobe


"When we were first approached by Revlon about a potential collaboration, Keren (Craig) and I were really excited about the chance to partner with an iconic brand that believes, as we do, in making a woman feel beautiful while remaining true to herself. Through Revlon’s incredible global reach, we will be able to bring a little piece of Marchesa to women around the world."
~Georgina Chapman, Marchesa co-founder and designer

I don't own anything designer, and I'm OK with that. Although I can appreciate the luxury and quality of high-end fashion, I can't see the practicality in ever paying an excessive amount for designer pieces.

I do know about designer items though, and I'm familiar with Marchesa and Georgina Chapman because Georgina is a judge on "Project Runway: All Stars" and "Project Runway: Under the Gunn."

Georgina wears Marchesa during judging, and I love the brand's mix of feminine silhouettes with beautiful embroidery and lace details.

So, I was pretty pumped to randomly find these Revlon nail art appliques on a recent trip to my local CVS. For $9.99, I could own a little piece of Marchesa and show it off every day. Or at least every day for about 2-3 weeks.

The appliques, which hit stores back in October, come in eight different styles inspired by the fashion house's gowns, and I picked two: Silk Rosette (below) and 24K Brocade.

Here's how I applied the Revlon By Marchesa 3D Jewel Appliques in Silk Rosette on my nails.


The box came with two of these sheets inside with various applique sizes for all 10 nails.


Also included in the box were a cuticle stick and file to shape the appliques to each nail.


Because the base of the Silk Rosette appliques was clear, I chose to paint my nails a pastel blue before applying them. I used Color Club's Factory Girl.


Then, I picked an applique that would fit my nail without touching my skin or cuticle and stuck it on.


Next, I pulled the applique tight over the end of my nail until it ripped.


And finally, I used the cuticle stick to smooth out the applique over my nail and the file to remove the excess part from the end of my nail. Although the directions on the back of the box didn't call for a top coat, I added one anyway.


I love the way my nails turned out, and I'm looking forward to trying the 24K Brocade appliques later this spring. I'll show you how those look, too!

Friday, January 31, 2014

Valentine's Day Nails Using YouTube Tutorials

Valentine's Day is only a couple weeks away, and I've painted my nails for the upcoming occasion.


I tend to follow various YouTube nail art tutorials when creating these types of designs. Here, I'll share the tutorials I used for a few of my nails.


Thumb: "simple dot rose nail art, sweet for Valentines day." by sewcrafty1
I started out by painting my nails a light blue. To create these roses, I used the four dots and swirl technique from this video with a dotting tool. Then, I added dark and light green leaves using stripers, which are just polishes that come with skinny brushes for precise designs.

I've also used the technique from this video by bubzbeauty to create roses. You can get similar results by using a toothpick instead of a dotting tool.


Index Finger: No YouTube tutorial required
I just painted my nails a pale pink color and added white dots using a dotting tool. Don't have a dotting tool? You can make your own by following this tutorial by cutepolish.


Middle Finger: "Valentine's Day Heart Nail Art Tutorial" by SimpleNailArtDesigns
OK, so this tutorial actually involves using tape with the shape of a heart cut into it as a stencil you put on your nail to create a heart-shaped gradient. I tried, and I failed miserably. But I did use a makeup sponge like the one shown in the video to create a gradient on my nail. Then, I added hearts in pink, blue and red using dotting tools. Cutepolish has a perfect technique for creating these types of hearts in this video.


Ring Finger: No YouTube tutorial required
I just painted my nails red, and then used a white striper to write an "X" and an "O."


Pinky: No YouTube tutorial required
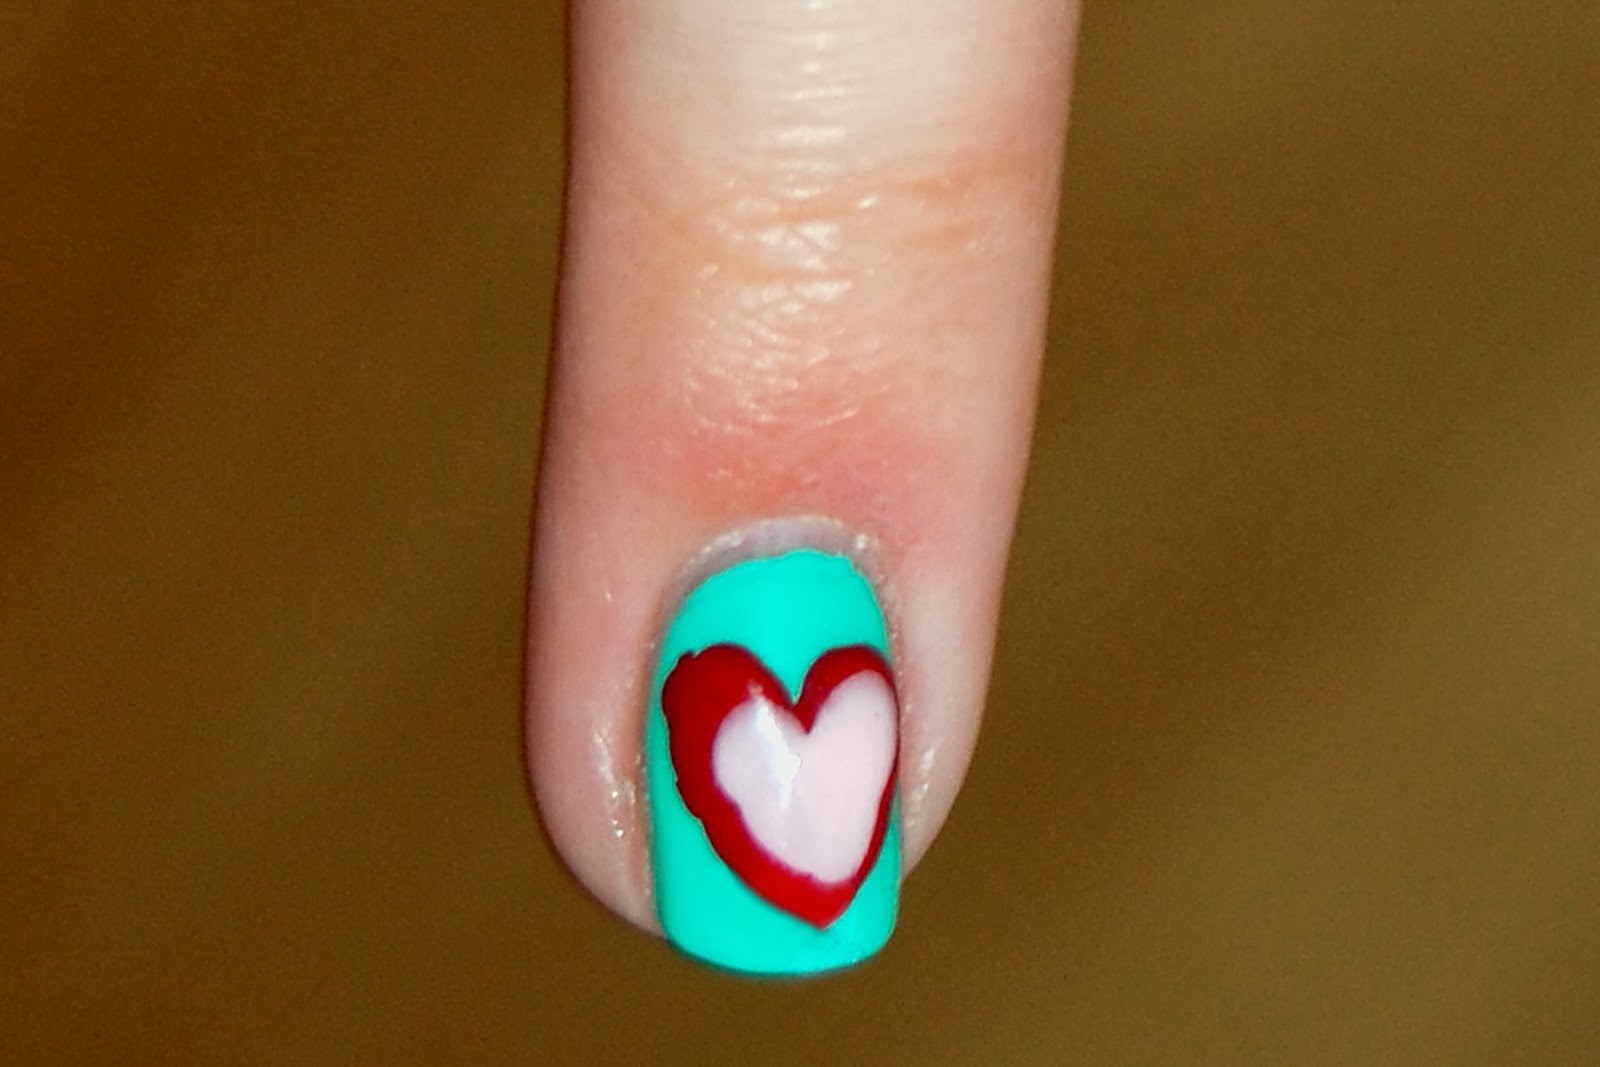
I painted my nails a light blue, and then used a dotting tool to create a red heart. Then, I used a smaller dotting tool to create a smaller pink heart on top of the red. Again, cutepolish has a perfect technique for creating these types of hearts in this video.

What are your favorite YouTube nail art tutorials? How are you decorating your nails for Valentine's Day? Tell me in the comments!
Sunday, January 5, 2014

How to Put Your Dog on Your Nails

I have the cutest dog ever.

You might think I'm biased, but I can tell you with 100 percent certainty that Cleo is the most precious pooch you'll ever meet in your life.

I started an Instagram account for her nine weeks ago to stay busy after I got laid off. She has nearly 500 followers.

Just look at her.


I rest my case.

I love nail art almost as much as I love Cleo, so for Christmas my fiancĂ© gave me the perfect gift: pomeranian decals for my nails.

They're from iMagic Designs, an Etsy shop that has more than 100 water slide nail decals to choose from. Shop owner Tatiana Jacob has everything from bows and flowers to peacock feathers and Russian nesting dolls. She also has a wide selection of dogs and cats, so you can dress up your nails with your favorite fur baby.

You get two sets of 10 decals, which come with instructions on how to apply them.


The technique is basically the same as applying temporary tattoos. Here's how I used the decals on my nails.


1. I wanted a darker base coat to serve as a frame for the design. I painted my nails with two coats of OPI's Over the Taupe.

2. Then, I painted my nails with two coats of a pink from a Shany Cosmetics French manicure set. iMagic Designs includes suggestions of base colors with the decals so they really stand out.

3. Next, I used scissors to cut out each decal so they fit my nails. Each row of decals includes a larger image for your thumb and a smaller image for your pinky.

4. I peeled off the clear protective plastic from the front of the decal and placed it face down on my nail. Then, I wet the piece of cloth included with the set and held it on the decal for 30 seconds.

5. Finally, I lifted the cloth, removed the backing paper and applied a Seche Vite top coat. And voila! My dog is on my nails!

Cleo approves!


The decals were super easy to use, and I'm looking forward to trying out other designs in the near future.

Have you used nail decals or temporary tattoos to decorate your nails? Tell me what else I should try in the comments!
